Apple and Ginger Loaf

sliced apple ginger loaf

This post is sponsored by Weight Watchers Canada. Find out more about the WW Freestyle program, which encourages the freedom to eat the foods you love while nudging you towards healthier choices using the SmartPoints system. As always, all ideas and opinions expressed here are my own.

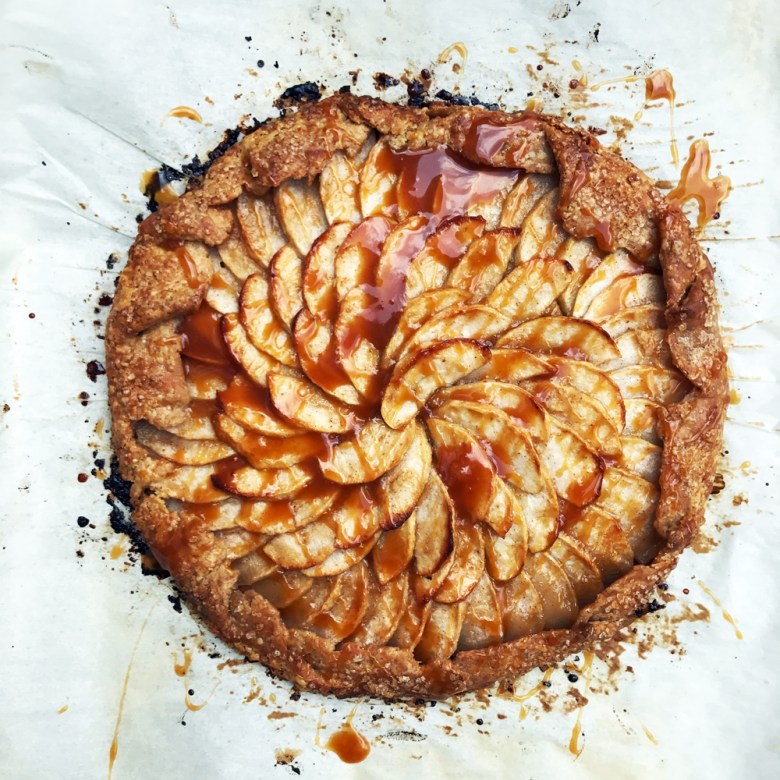
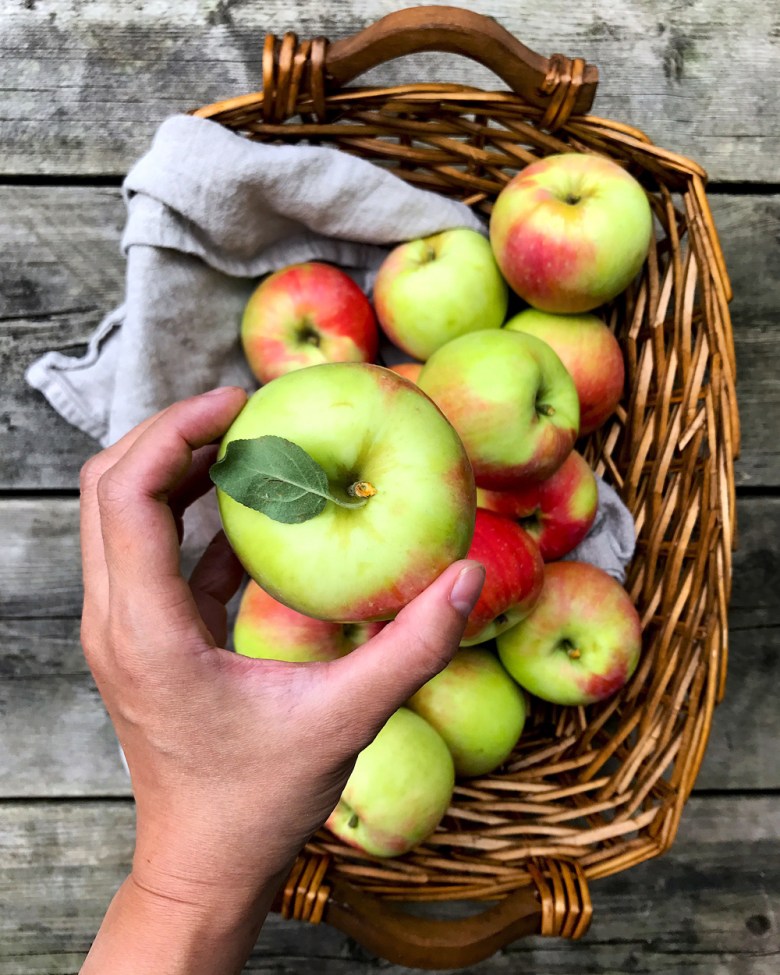
Around this time of year I tend to have a few extra apples / apple butter lying around, the products of slightly-over-enthusiastic orchard trips. Not that I mind at all — I really enjoy baking with apple butter (in addition to spreading it on toast). Like applesauce, apple butter adds moisture and flavor to baked goods. I actually think the flavor you get with apple butter is better than applesauce, because the fruit is much more concentrated!

This time around I wanted to use apple butter to make a hearty breakfast quick bread, full of spice and whole grains. Enter this Apple and Ginger Loaf! I’ve been crushing on ginger lately, so it’s a major player here. I ground some fresh ginger up with the sugar to see what would happen, and I love the fragrance and spice it adds (and that grinding it with the sugar avoids those gingery strings)! If ginger isn’t your thing feel free to cut back or substitute with your favorite fall spice (I think cardamom would be lovely here). Conversely if you’re really into ginger, you could go wild and toss in a handful of chopped candied ginger, or sprinkle some on top.

apple ginger loaf from top

apple ginger loaf grab slice

Apple and Ginger Loaf

Makes one loaf, about 16 servings

Ingredients

  • 60g dark brown sugar
  • 60g granulated sugar
  • 50g fresh ginger, peeled and roughly chopped
  • 2 large eggs, at room temperature
  • 30g molasses
  • 1/4 teaspoon baking powder
  • 1/2 teaspoon baking soda
  • 1 teaspoon cinnamon
  • 1/2 tsp ground ginger
  • 1/4 teaspoon allspice
  • 1/4 teaspoon nutmeg
  • 3/4 teaspoon kosher salt
  • 99g neutral vegetable oil (I prefer grapeseed)
  • 1 1/2 teaspoons vanilla
  • 170g apple butter
  • 177g white whole wheat flour or sifted whole wheat flour
  • 50g rolled oats (not instant)
  • 57g chopped, toasted pecans (optional)

For the topping:

  • 1 Tbsp rolled oats
  • 1 Tbsp coarse sugar

Method

  1. Preheat the oven to 350F. Lightly grease and line a loaf or Pullman pan with a parchment paper sling.
  2. Place the sugars and ginger in a food processor. Pulse until ginger is completely broken down. Transfer mixture to the bowl of a stand mixer fitted with the whisk attachment.
  3. To the sugar-ginger mixture, add the eggs, molasses, baking powder, baking soda, spices, and salt. Mix on low to combine, then turn up the speed to medium and whip until the mixture is thick and expanded, about 5 minutes.
  4. Turn the speed down to low and slowly stream in the oil and vanilla. Mix until homogeneous. Add the apple butter and whisk on low until combined. Scrape down the sides of the bowl and add the flour and oats. Mix on low just until combined. Add the nuts if using and use a silicone spatula to mix just until the batter is smooth and combined. Be sure to scrape the bottom of the bowl to ensure the batter is evenly mixed.
  5. Pour the batter into the prepared pan. Sprinkle the rolled oats and coarse sugar evenly over the top.
  6. Bake for 45-60 minutes, or until a skewer inserted into the center of the loaf comes out clean.
  7. Transfer the pan to a wire rack to cool for 15 minutes. Using the parchment sling, lift the loaf out of the pan to finish cooling completely on the rack.

Instant Pot Apple Butter

apple butter

Over the past few years, apple picking has become an early fall tradition. It started five years ago as a date activity with my now-husband, and this year the apple farm was one of our brand-new daughter’s first excursions.

apple farm trip

(This was actually our second trip this year; Marcus liked the last trip so much he kept asking to see “apple trees.”)

Besides pies and galettes, I also enjoy making a batch or two of apple butter with our pickings. I far prefer apple butter to applesauce — it’s thick enough to spread on toast and is generally more flavorful. Apple butter is also a handy ingredient to have around for fall baking, as I’m discovering (recipes to come!). Whipping up a batch does take some time, but it’s mostly hands-off and makes your house smell perfectly autumnal — a great rainy day project!

I used our Instant Pot to make this year’s batch. (Not sponsored — we really do love this gadget!) While my method doesn’t save much time on traditional apple butter-making methods, I do think it’s easier and dirties fewer dishes. It’s definitely how I’m making apple butter from here on out!

A few notes:

  • You can use any variety (or varieties) of apples. I used a mix of Macintoshes and Cortlands for this particular batch.
  • Feel free to add different / more spices to your liking. I kept this batch pretty light on spice since I knew I would be using it in some baking recipes.
  • If you don’t have an Instant Pot, you can make this using the stovetop and oven or a slow cooker.
  • If you’re pressed for time, you could use the “saute” setting instead of “slow cook” in step 2 to reduce the puree down (it should take 45-60 minutes), but the butter does tend to splatter and requires more constant stirring / attention.

Instant Pot Apple Butter

Makes about 3 pints

Ingredients

  • 5 1/2 lbs apples, cored and quartered (no need to peel)
  • 1/4 c water or apple juice
  • 100-200 g brown sugar
  • 1 tsp cinnamon
  • A few gratings of fresh nutmeg

Method

  1. Place the apples and water/juice in the Instant Pot and cook on high pressure for 20 minutes. Allow pressure to release naturally. Puree contents using an immersion blender / regular blender / food processor.
  2. Return puree to the Instant Pot. With the lid propped open for steam ventilation, cook — stirring occasionally — on the slow cooker setting until thick and reduced, about 6 hours. Add sugar and spices, adjusting to taste (I used about 3/4 c sugar for a gently sweetened butter).
  3. For smoothest texture, puree contents again. Ladle apple butter into clean, sterile jars. Process in a water bath, if desired, or store in the refrigerator and use within a few weeks. Apple butter can also be frozen.

Apple Frangipane Galette with Salted Caramel

Thanks to moving, prepping for baby #2, and some unusually mild Canadian weather, this summer has disappeared just like that. I can’t say I’m sad about it. While there’s nothing like summer produce, fall is by far my favorite season. I love the crisp mornings, changing colors, and chunky sweaters.

Oh, and apple pie.

I don’t usually make my first apple dessert until a little later in the year. But last week I took my little guy to a nearby farm, and to my surprise they had a couple varieties of apples ready for picking. I couldn’t resist taking home a small bag full of Zestars! (yes, the “!” is an official part of its name), which I’d never tasted before but read were good for eating and baking. And they are lovely — mildly tart and crisp with a firm texture that holds up well in the oven.

I didn’t quite have enough apples for a full-on pie, but these babies were just begging to be baked up in a buttery crust. (OK, maybe that was me begging.) And so this galette was born.

I know galettes are supposed to be unfussy and casual; and the many components of this one may be off-putting. But seriously. I think this is one of the best apple desserts I’ve ever made, and it really looks harder than it is. You could definitely use store bought salted caramel sauce if you wanted, but it’s so delicious and easy to make yourself that you really won’t regret cooking up a batch. (Plus, this recipe makes more than enough for the galette so you’ll have extra for stirring into coffee, drizzling over ice cream, or just eating from the jar.) I’m also having a moment with frangipane — not only is it just plain delicious, but in the case of a galette it acts as a moisture barrier, keeping the bottom crust beautifully crisp.

Speaking of the crust — it may sound weird to use sourdough starter in a pastry recipe, but trust me, it’s delicious! I really do believe sourdough adds a depth of flavor to pie crust; and if your starter is healthy and fresh you shouldn’t notice any tang. But if you don’t have sourdough starter lying around, you can certainly use your favorite pie crust recipe instead.

Apple Frangipane Galette with Salted Caramel

Serves 6-8

Ingredients

For the sourdough crust (makes enough for 2 galettes):

  • 300g flour (I use 100g whole grain, 200g AP)
  • 227g unsalted butter, cold and cubed
  • 1 Tbsp granulated sugar
  • 1 tsp kosher salt
  • 200g ripe sourdough starter, cold (100% hydration)
  • 2 Tbsp cold milk or water

For the salted caramel sauce:

  • 200g granulated sugar
  • 1/2 c heavy cream, at room temperature
  • 54g unsalted butter, at room temperature
  • 1 tsp flaky sea salt, such as Maldon

For the frangipane:

  • 95g almond flour
  • 50g granulated sugar
  • 20g flour (AP or whole grain)
  • 30g unsalted butter, at room temperature
  • Pinch of salt
  • Splash of vanilla extract
  • 1 large egg, at room temperature

For the fruit:

  • 3 medium-large baking apples, cored, peeled, and thinly sliced
  • Juice of 1/2 a lemon
  • 50g brown sugar
  • 1 Tbsp AP flour
  • Pinch of cinnamon
  • 1/4 c salted caramel sauce

To finish:

  • 1 Tbsp cream
  • 1 Tbsp coarse sugar
  • Salted caramel sauce

Method

For the sourdough crust:

  1. In a large bowl, whisk together the flour, sugar and salt. Add the cubed butter and smash into flat pieces with your fingers, tossing to distribute evenly. Don’t overwork — you want to keep the butter pieces fairly large (nickel to quarter size) for flakiness.
  2. Use a fork to whisk the cold milk/water and starter together. Pour the wet mixture over the butter-flour mixture and, using a silicone spatula or wooden spoon, gently toss to combine. The dough will seem shaggy at first, but should hold together if you squeeze it. If not, dribble in additional cold water/milk a teaspoon at a time (tossing after each addition) until it does.
  3. Using the heel of your hand, take handfuls of dough and smear them up the side of the bowl (this “fraisage” method creates streaks of butter that makes for an extra flaky crust). Once all the dough has been smeared, divide the in half and gently press and flatten each portion into a circle. Wrap one half in plastic and chill or freeze for a future galette or pie. If your remaining dough feels at all soft or melty at this point, wrap it in plastic and chill for about 10 minutes before proceeding (you want it cold, but not hard).
  4. On a piece of floured parchment paper or Silpat, roll the dough into a circle about 12-14 inches in diameter, about 1/4-in thick. Roll from the middle and rotate the dough about 1/4 turn between rolls to help keep the shape and even thickness. Flour your pin and dough as needed to avoid sticking. When you’re done rolling, transfer the dough still on the parchment/Silpat to a sheet pan, cover with plastic, and chill for at least 2 hours before assembling the galette.

For the salted caramel sauce:

  1. In a medium saucepan, melt the sugar over medium-high heat. Swirl the pan occasionally for even heating.
  2. When the sugar reaches a copper color, remove it from the heat and add the salt and butter, whisking continuously. Be careful as the mixture will bubble up! Return the pot to medium-low heat and whisk for a minute or so.
  3. Still continuously whisking, add the cream in a slow, steady stream — again, taking caution as the mixture will bubble and rise. Continue whisking over medium-low heat to thicken the mixture slightly.
  4. Remove from the heat and transfer to a heat-safe container. Once cool, cover and refrigerate. Sauce will thicken as it cools. Rewarm in the microwave for about 20 seconds for easy pouring.

For the frangipane:

  • Whisk together the flours, sugar, and salt in a small bowl. Rub the butter in with your fingers until the mixture resembles wet sand. Add the egg and vanilla and mix with a spatula to combine.

For the fruit:

  • Juice the lemon into a medium bowl and add the apple slices, tossing to coat. Add the sugar, flour, and cinnamon and toss to combine.

To assemble:

  1. Preheat the oven to 375F. Remove the chilled pastry from the fridge. Spread the frangipane evenly in a circle in the center of the pastry, leaving a 1.5-2 inch border. Starting from the outermost edge of the frangipane, arrange the apple slices in concentric, overlapping circles. Fold the edges of the pastry over the filling to create a crust. Refrigerate the galette for 15-20 minutes to firm the pastry.
  2. When the pastry is firm, brush the crust with the heavy cream and sprinkle with coarse sugar. Drizzle 1/4 c of salted caramel sauce over the apples (not on the crust). Bake in the preheated oven for 40-45 minutes, rotating the pan halfway through, until the pastry is a deep, golden brown and the apples are bubbling. Transfer to a cooling rack. Serve at room temperature with extra salted caramel sauce.

Apple Pie with a Cinnamon Roll Crust

apple pie cinnamon roll crust

Every fall for the past four years, my husband and I have gone apple picking. And each year the first culinary priority is a proper apple pie.

With apologies to salted caramel and brown butter, I like my apple pie plain and simple. Sounds straighforward enough, but it’s taken me a few tries to get this apple pie right to where I like it. I like lots of apples — lightly and classically spiced, tender but not mushy, sliced and not chunky, and not too sweet.

Normally with fruit pies I spring for a fun lattice top; but this time around, inspired by a photo I saw from dessert artist Linda Lomelino, I decided to gild the lily with a cinnamon roll crust. I used my favorite partially whole grain, all butter crust, but this technique should work with your crust of choice.

A few notes:

  1. Although I’ve written out this recipe as if I were doing this in one day, my current pie procedure is a 2-day process. This is mostly because the scheduling is easier for me (having an active kiddy-kins makes it hard to do all at once), but I actually think my crusts have turned out better with the extra chilling and relaxing. Here’s my process: the night before baking, I roll out my crusts. I line the pie plate with the bottom one. I roll out the top one onto a piece of parchment and transfer that parchment to a sheet pan. I also peel and slice the apples and start the maceration process. Then I wrap everything in plastic and chill in the fridge overnight.
  2. The cinnamon roll crust is quite easy to put together, but it can get soft with the extra handling and rolling. Just stick it in the fridge if it starts feeling soft at any point.
  3. My pie plate is on the deep side so this is the right amount of apples for me. If you have extra, just cook them on the stovetop and add to your oatmeal; or sprinkle some granola on top for a tasty snack! Or make a baby pie using your dough scraps!

Apple Pie with a Cinnamon Roll Crust

Makes one 9-inch pie

Crust Ingredients:

  • One recipe of your favorite 9-inch double pie crust, divided in 2 (this is mine)
  • 1.5 Tbsp unsalted butter, melted
  • 50g / 1/4 c granulated sugar mixed with 1 tsp cinnamon

Filling Ingredients:

  • 3.5 lbs apples (about 6-8 medium-sized), peeled and thinly sliced (I like a combination of tart and sweet apples such as Gala, Northern Spy, Mutsu, and Cortland)
  • Juice and zest of 1/2 a lemon
  • 50g / 1/4 c dark brown sugar
  • 50g / 1/4 c granulated sugar
  • A couple handfuls of coarse sugar
  • 2 Tbsp tapioca flour
  • 1 tsp cinnamon
  • A few gratings of fresh nutmeg
  • 1/4 t allspice
  • 1/2 t coarse kosher salt
  • A few dashes of Angostura bitters, optional

To finish:

  • 1 egg, beaten with 1 tbsp cream or milk and a pinch of salt
  • 1 tbsp coarse or pearl sugar

Method:

  1. Combine the sliced apples with the lemon juice, dark brown sugar, and granulated sugar. Allow to macerate for at least one hour at room temperature (or up to overnight in the fridge).
  2. Roll out the bottom half of your pie crust and transfer to a greased pie plate. Trim the edges, leaving a 1/2 to 1 inch border all around. Cover with plastic wrap and chill while preparing the rest of your pie.
  3. Drain the macerated apples into a colander set over a small saucepan to catch the juices. Bring the juices to a boil over medium heat and cook until reduced by half, stirring occasionally. It should be thick and syrupy. Set aside to cool.
  4. Roll out your top crust into a 12 inch round. Brush the melted butter evenly over the whole surface and sprinkle the cinnamon-sugar mixture on top. Gently but tightly roll up the pastry into a log. (If the pastry is soft at this point, transfer to the fridge for a few minutes to firm up before proceeding.) Using a serrated knife, trim off the ends and cut the pastry into 1/2″ slices. On a piece of lightly floured parchment paper or Silpat, arrange the remaining slices into a tight circle. The slices should be touching but not overlapping. Gently roll out into a 10-inch circle (or large enough to fit your pie plate — it should be about 1/8-1/4″ thick). Transfer the parchment with your crust to a sheet pan and refrigerate while you prepare the rest of the pie.
  5. Combine the spices, salt, lemon zest, and tapioca flour in a large bowl. Add the drained apples and stir to coat evenly. Add bitters if using, and stir again to combine.
  6. Remove the pie plate from the fridge. Scatter a handful of coarse sugar over the bottom of the crust. Arrange the apple slices inside, trying to pack them in as tightly as possible and mounding slightly in the center. (I find if you take the time to layer the apples neatly and carefully with no big gaps, you won’t have the problem of a big gap between the filling and the top crust. It’s worth the extra few minutes.) Drizzle the reduced juices and scatter another handful of coarse sugar over the apples.
  7. Invert the cinnamon roll crust over the top and gently peel off the parchment / Silpat. Trim the top crust and crimp the edges with a fork to seal. It’s ok if there is a little separation of the rolls — they will serve as your steam vents. Chill the entire pie until the pastry is firm, at least 20 minutes.
  8. While the pie is chilling, preheat the oven to 425F with racks in the middle and bottom and a baking sheet on the bottom rack. Prepare the egg wash by whisking the egg and cream/milk together.
  9. When you are ready to bake, gently brush the egg wash all over the surface of the pie, followed with a generous handful of coarse or pearl sugar. Transfer to the bottom rack of the oven, on the preheated baking sheet. Bake for 20 minutes. Turn down the oven to 375F, rotate and move the pie on its baking sheet to the middle rack, and bake another 30-45 minutes or until the crust is a deep golden brown and the filling is bubbling. Allow to cool on a wire rack for at least 3 hours before slicing.

I couldn’t resist making a lil’ baby pie with the scraps…
applemini-1